Hardware Specifications
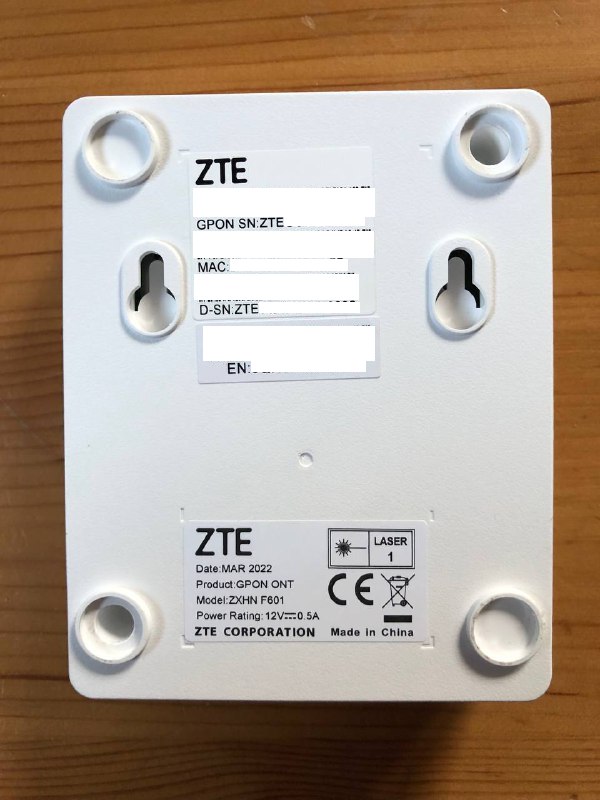
| Vendor/Brand | ZTE | ZTE | ZTE | ZTE |
| Model | F601v6 | F601v7 | F601v8 | F601v9 |
| ODM | ✅ | ✅ | ✅ | |
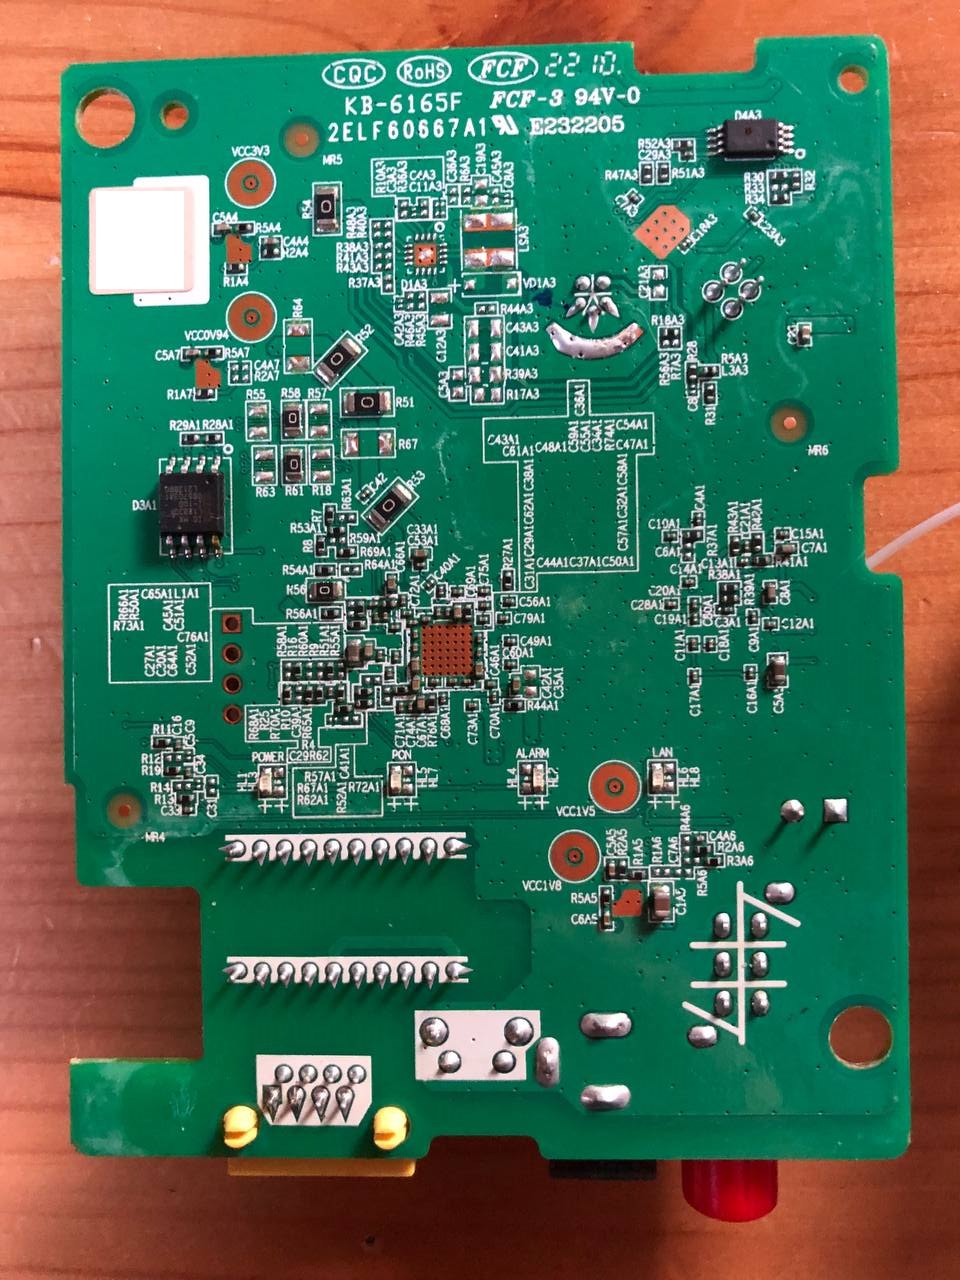
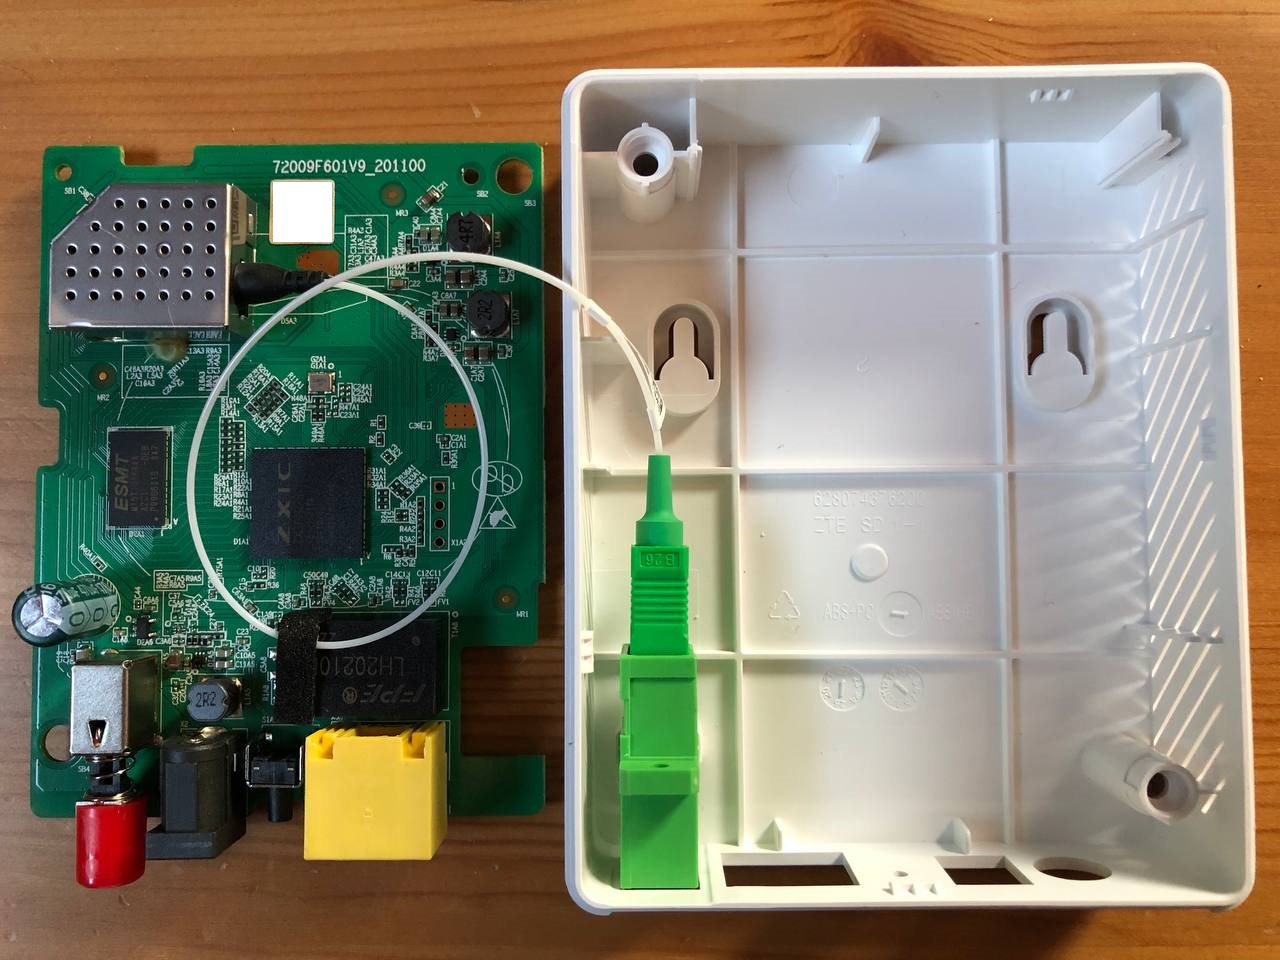
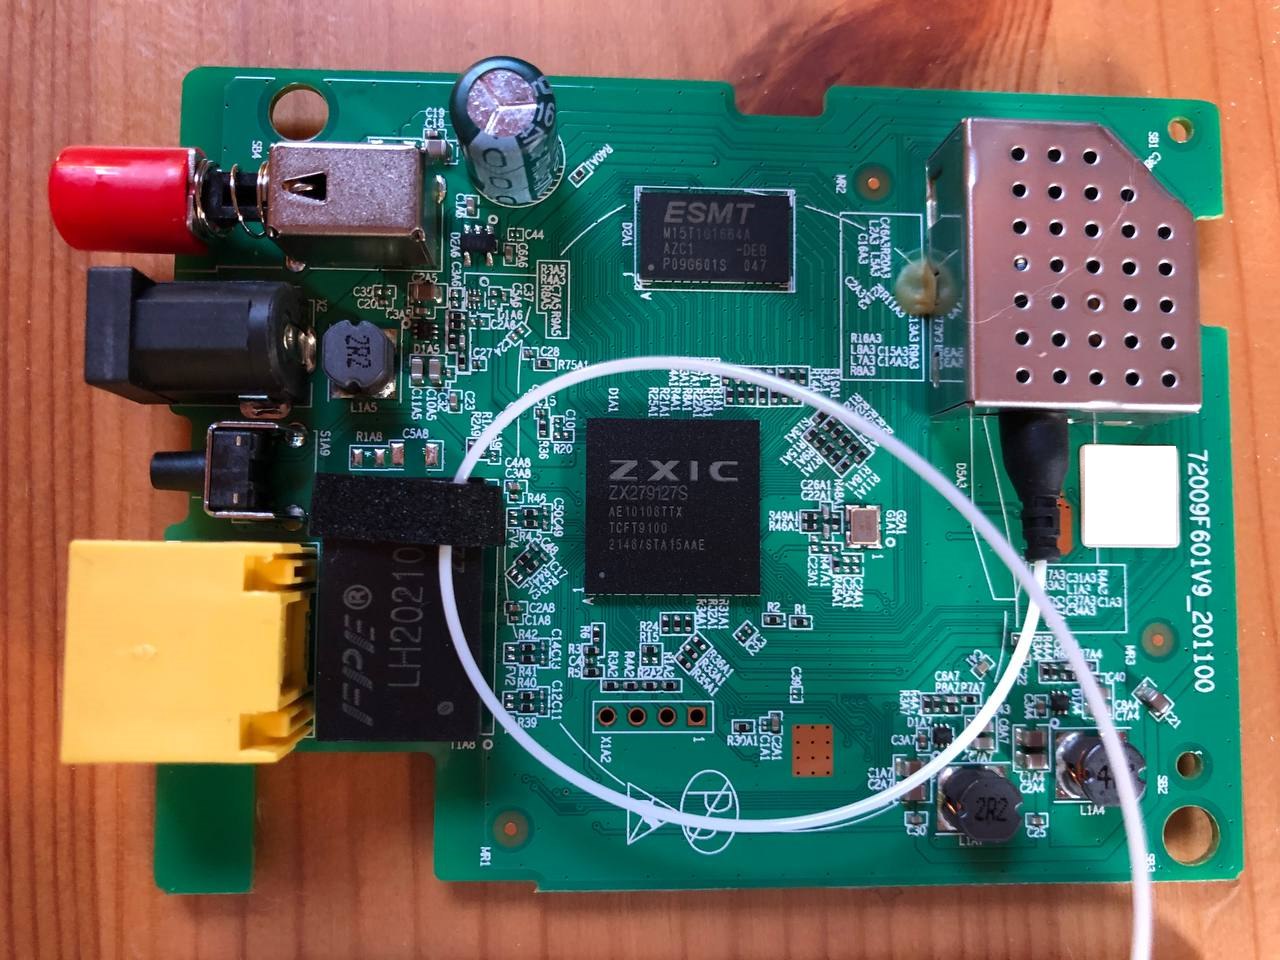
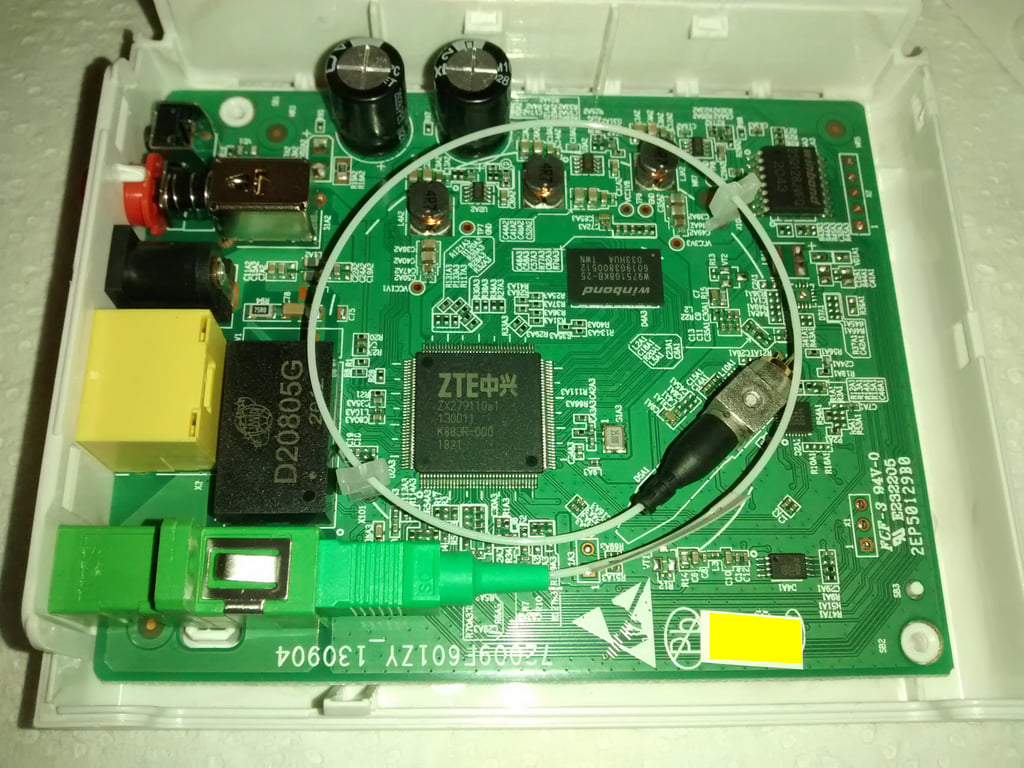
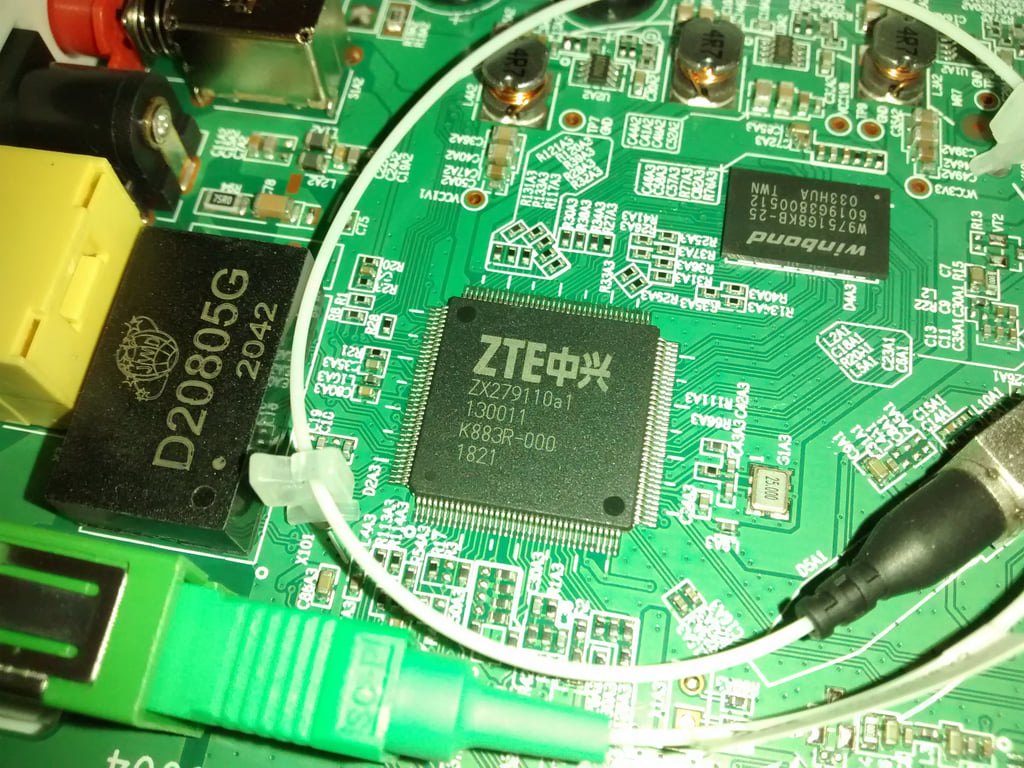
| CPU | ZTE FA626TE | ZTE ZX279125@A9 | ZX279127S | |
| CPU Clock | 266 MHz | 600 MHz | ||
| Chipset | ZTE FA626TE | ZTE ZX279125@A9 | ||
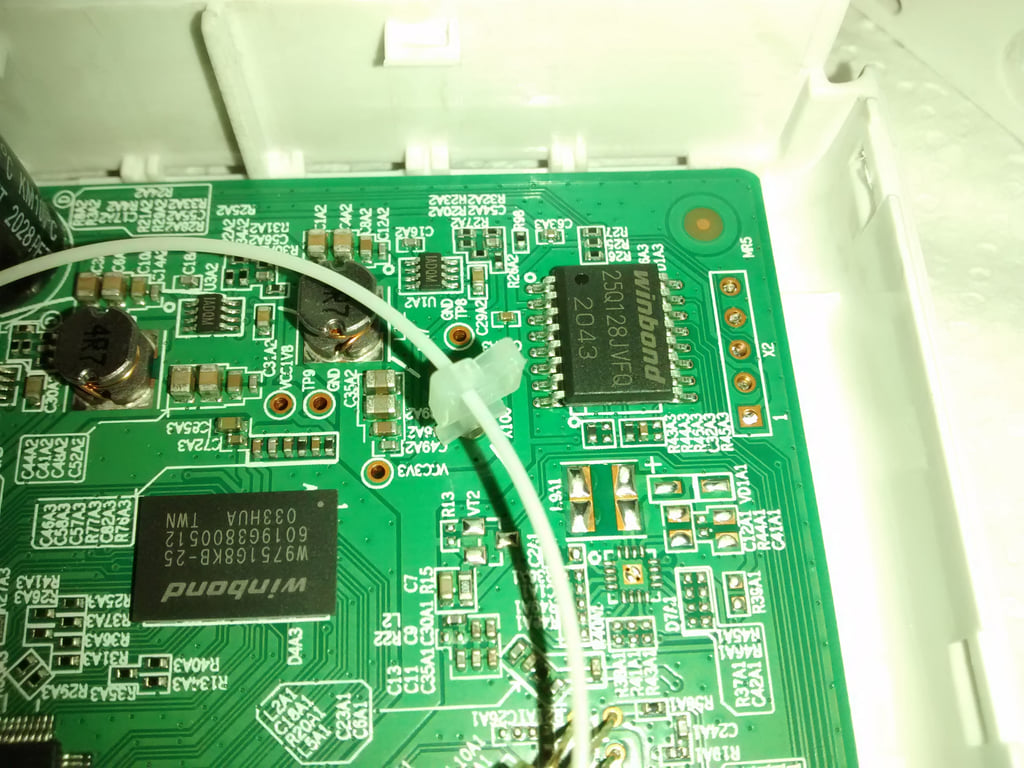
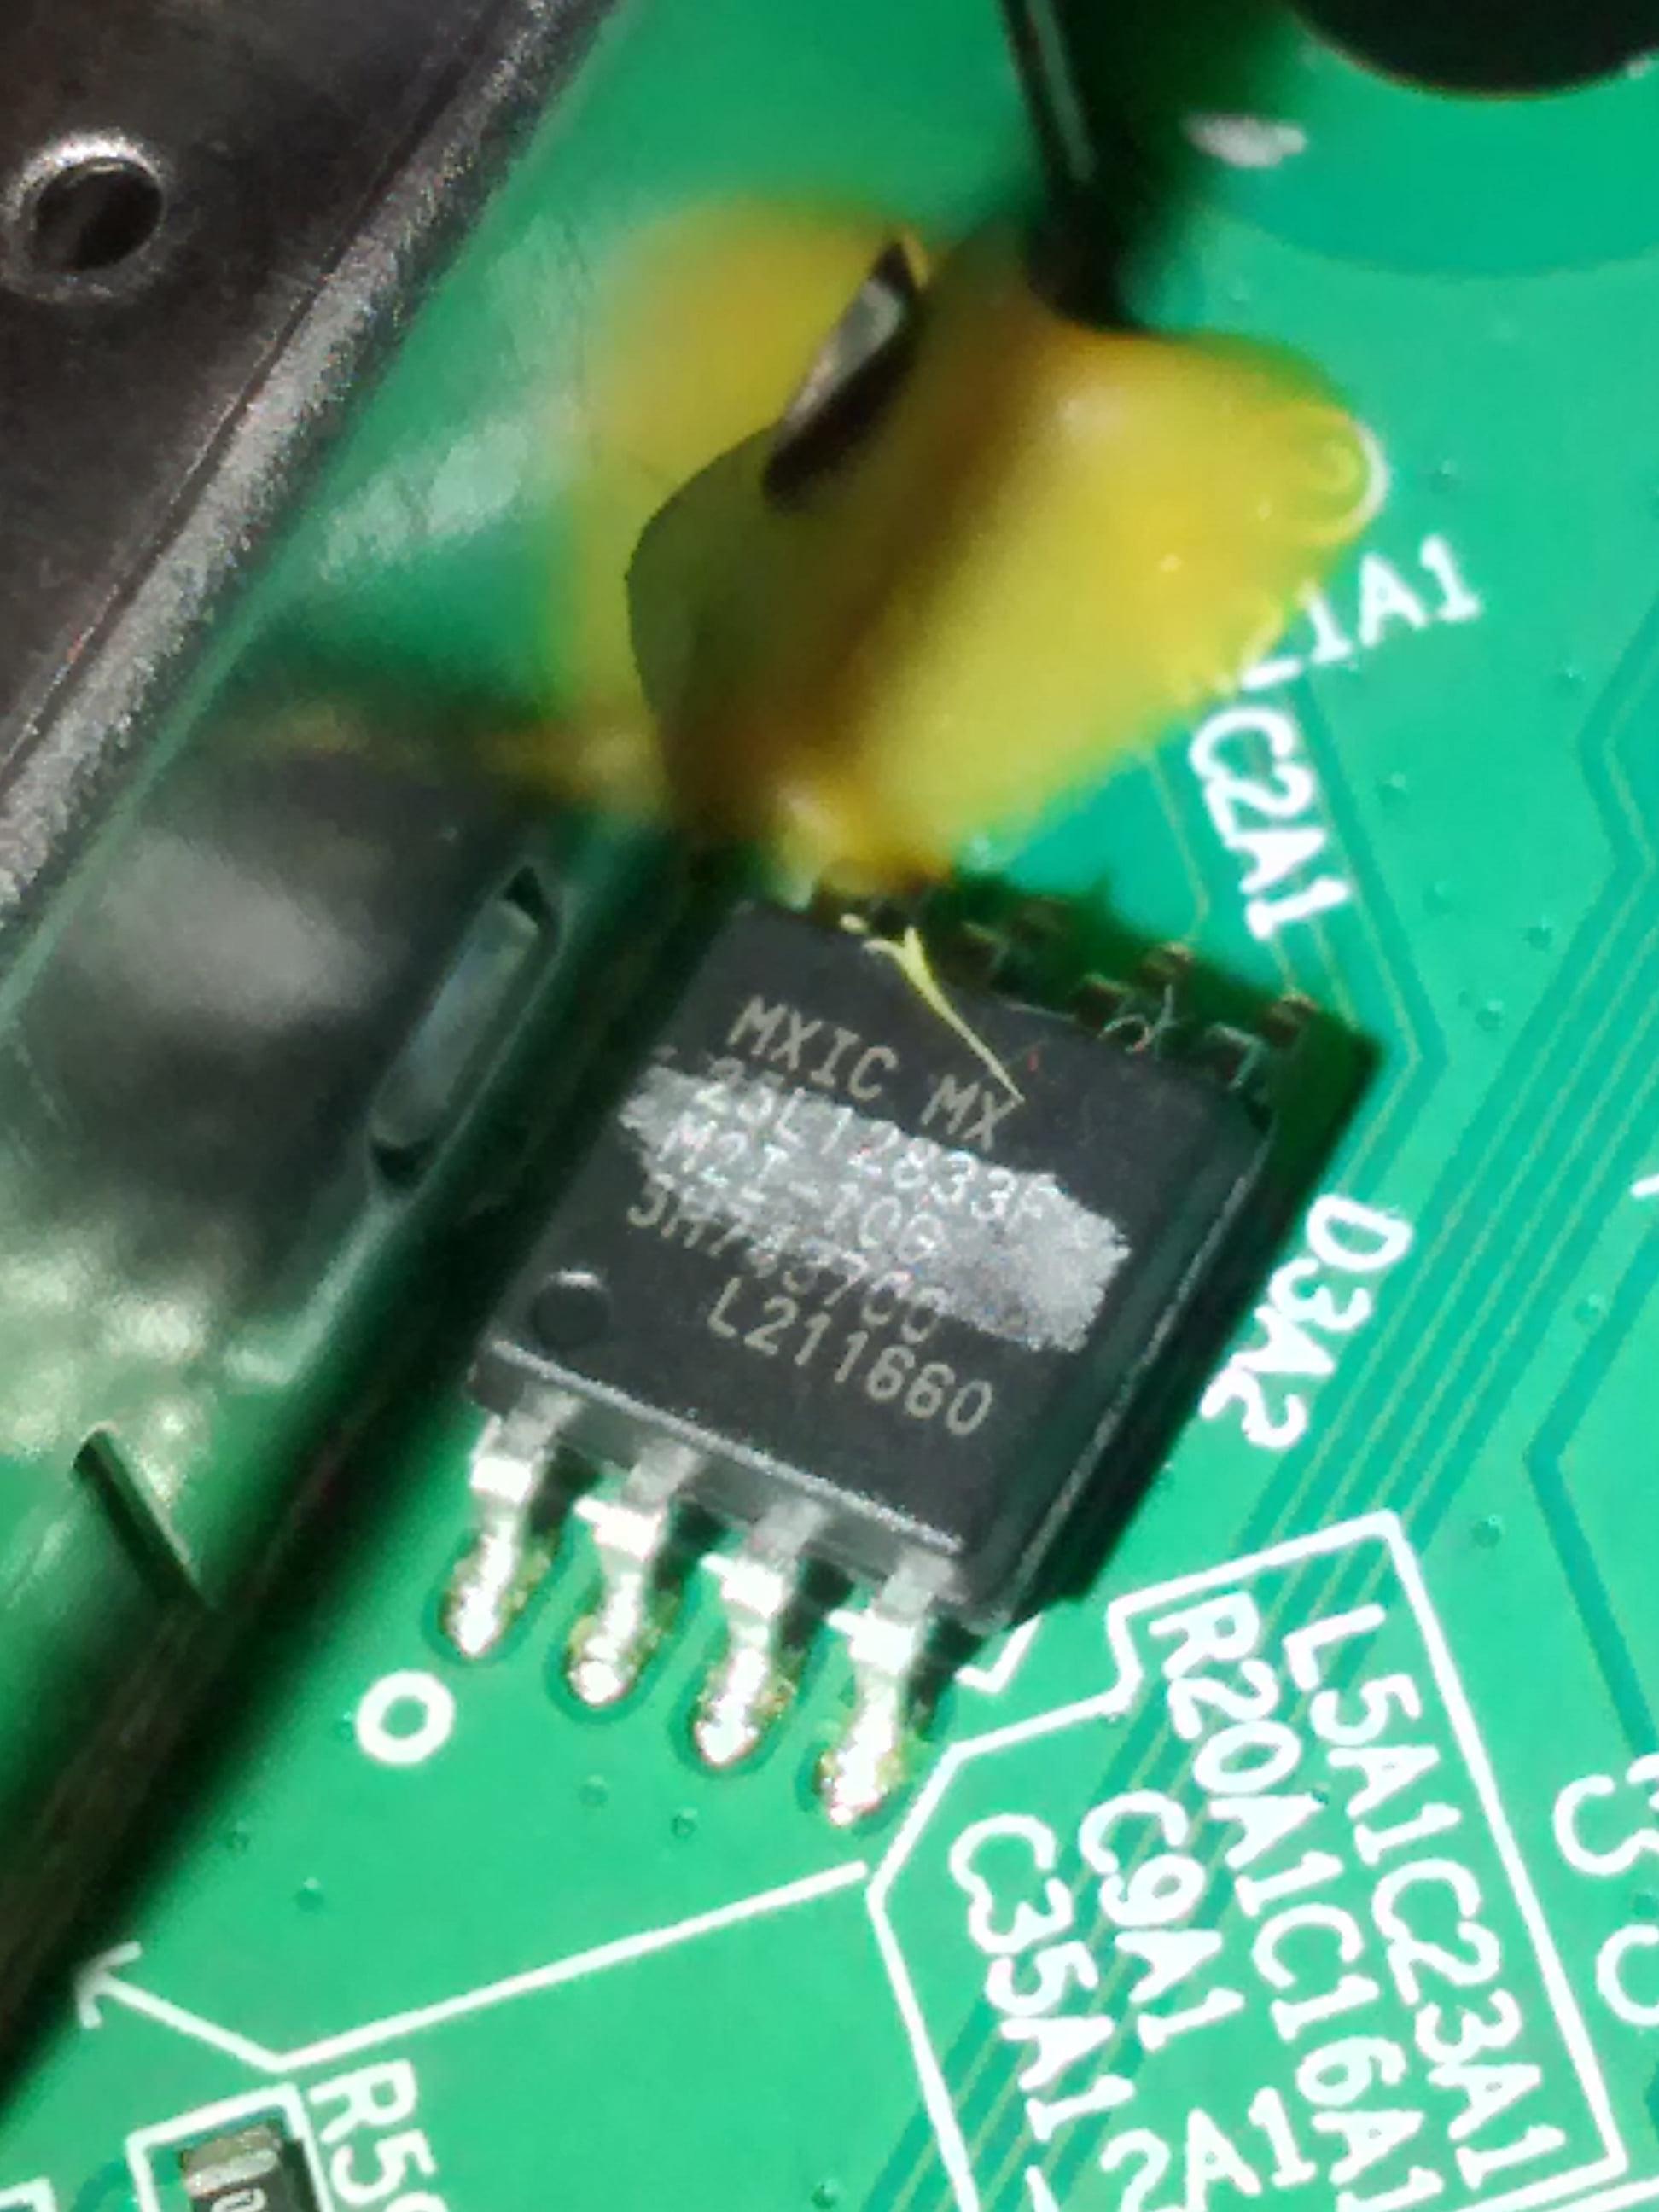
| Flash | 16 MB (SPI Flash w25q128) | 16 MB (SPI Flash mx25l12805d) | ZX279127S | |
| RAM | 64 MB | 32 MB | 128 MB (ESMT M15T1G1664A) | |
| System | ||||
| 2.5GBaseT | No | No | No | No |
| Optics | SC/APC or SC/UPC | SC/APC | SC/APC | SC/APC |
| IP address | 192.168.1.1 | 192.168.1.1 | 192.168.1.1 | |
| Web Gui | ✅ user admin, password admin or user user, password user | ✅ user admin, password admin or user user, password user | ||
| SSH | ||||
| Telnet | ✅ [1] | ✅ [2] | ||
| Serial | ✅ | ✅ | ||
| Form Factor | ONT | ONT | ONT | ONT |
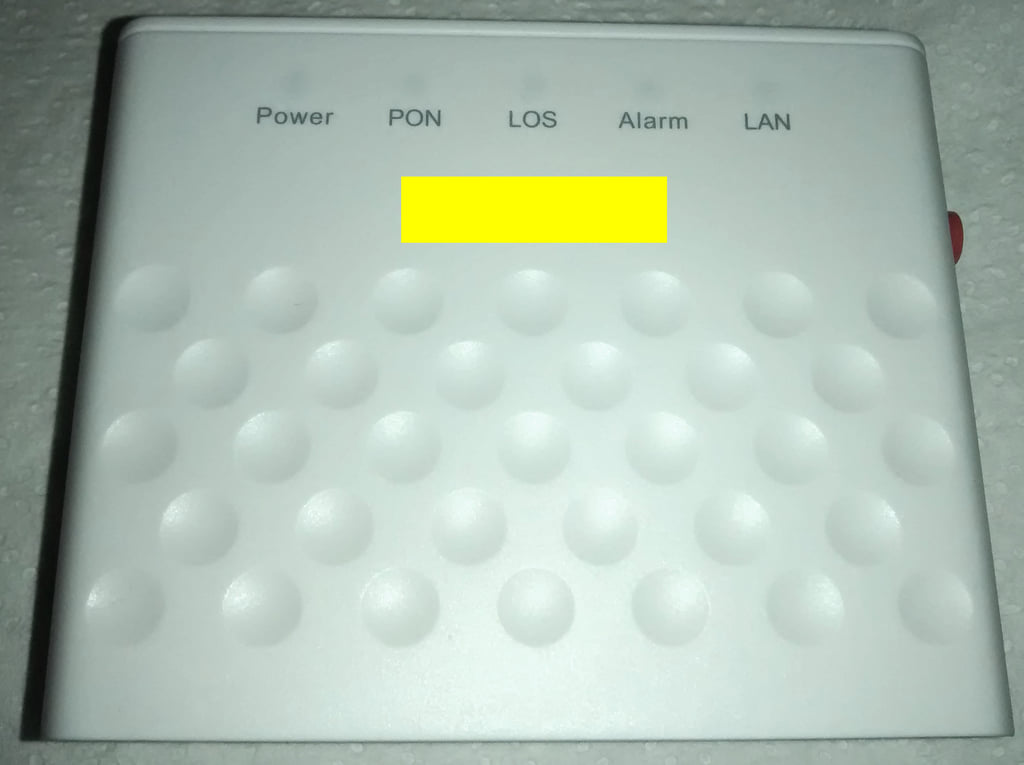
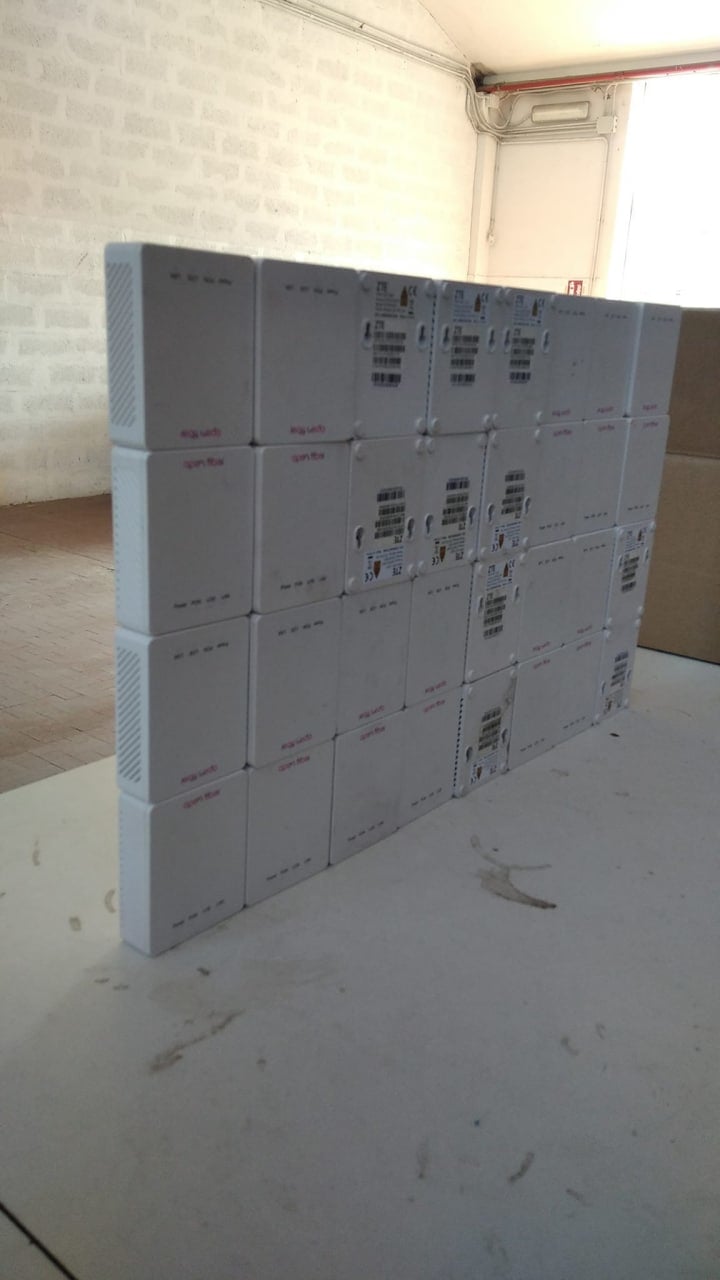
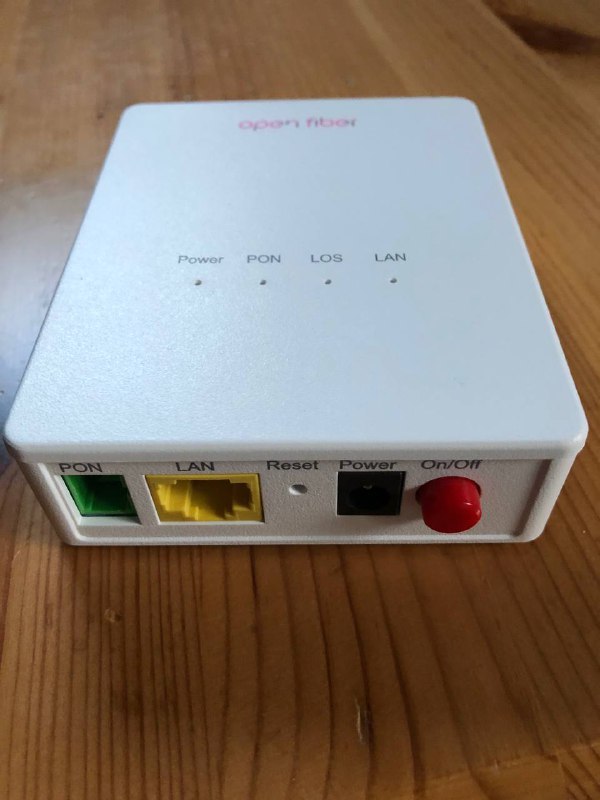
List of software versions
HW V6.0
- V6.0.10P6T1 (OpenFiber)
- V6.0.10P6T4 (OpenFiber)
- V6.0.10P6N7 (OpenFiber)
- V6.0.10N40 (TIM Italy)
- V6.0.10P3T1 (Generic)
- V6.0.10P1T26 (Generic)
HW V7.0
- V7.0.10P6N7 (OpenFiber)
- V7.0.10P6T4 (Generic)
HW V9.0
- V9.0.10P2N1 (OpenFiber)
List of partitions
HW V6.0 and V7.0
| dev | size | erasesize | name |
|---|---|---|---|
| mtd0 | 01000000 | 00010000 | "whole flash" |
| mtd1 | 00080000 | 00010000 | "uboot" |
| mtd2 | 00700000 | 00010000 | "kernel0" |
| mtd3 | 00700000 | 00010000 | "kernel1" |
| mtd4 | 00010000 | 00010000 | "others" |
| mtd5 | 00010000 | 00010000 | "parameter tags" |
| mtd6 | 00160000 | 00010000 | "usercfg" |
This ONT supports dual boot, as visible from the presence of kernel0 and kernel1, which contain the rootfs. The boot images can be swapped with the following command:
upgradetest switchver XWhere X can be 0/1, based on the image you want to boot from.
You can also clone the currently running image into the other slot using this command:
syn_versionUse
Note
Commands have been tested on V6/V7 HW rev. on TIM and OpenFiber firmwares
Enable Telnet
Note
This is an external script (ZTE Telnet enabler), use at your own risk! Credentials don't survive at reboot!
Note
For italian users, the script above only works on versions V6.0.10N40 (TIM) and V6.0.10P6N7 (OpenFiber)
python3 zte_factroymode.py --user admin --pass admin --ip 192.168.1.1 --port 80 telnet openYou should get this output and credentials to login over telnet:
trying  user:"admin" pass:"admin"
reset facTelnetSteps:
reset OK!

facStep 1:
OK!

facStep 2:
OK!

facStep 3:
OK!

facStep 4:
OK!

facStep 5:
OK!

done
Username: 2W3iqFVt
Password: Eqb8X8Qt
Enable console redirection
To see omcidebug messages on telnet, execute this command (just the first time of each connection):
redir printfGPON ONU status
Getting the operational status of the ONU
To check the connection status, use the following command:
gpontest -gstate[gpontest] gpon state is [O5] for O5 state
Getting OLT vendor information
sendcmd 132 omcidebug showmedata 131This command will print the following output:
##################################
MIB INFO:
         ME CLASS: 131
         DB NAME: olt_g, DBHandle: 32
##################################

<-----MeID[ 0x0000,0 ], Addr[ 0x19a2b1]----->
         Vendorid:48 57 54 43
      EquipmentID:00 00 00 00 00 00 00 00 00 00
                    00 00 00 00 00 00 00 00 00 00
          Version:31 30 00 00 00 00 00 00 00 00
                    00 00 00 00
        TimeofDay:00 00 00 00 00 00 00 00 00 00
                    00 00 00 00
---------------------------------------------------------------------
Querying a particular OMCI ME
sendcmd 132 omcidebug showmedata ID_MIB (eg. 7 for Firmware version)This command will print the following output:
##################################
MIB INFO:
         ME CLASS: 7
         DB NAME: soft_image, DBHandle: 14
##################################

<-----MeID[ 0x0000,0 ], Addr[ 0x19a011]----->
          Version:V6.0.10N41
     Is committed:01
        Is active:01
         Is valid:01

<-----MeID[ 0x0001,1 ], Addr[ 0x19a031]----->
          Version:V6.0.10N39
     Is committed:00
        Is active:00
         Is valid:01
---------------------------------------------------------------------
GPON/OMCI settings
Setting ONU GPON Serial Number
Note
Both S/N and VID have to be changed. 2176 is for the VID (first 4 letters of the S/N) and 2177 is for the last 8 digits of the S/N
setmac 1 2176 ZTEG
setmac 1 2177 AABBCCDD
Setting ONU GPON PLOAM password
Note
The PLOAM password is stored in the ASCII format.
This can be done easily via the web UI. To do it via the shell use:
setmac 1 2181 1234567890
setmac 1 2178 1234567890
Changing ONU HW/SW Version and gaining persistent telnet access
Note
The only way to change HW/SWVer on this ONT is to modify the firmware, so do it at your own risk
Note
This procedure was only tested on TIM V6.0.10N40 and OF V6.0.10P6N7 firmwares
Note
This procedure works with ZTE_Firmware_Mod.py v1.0.0
Needed tools:
- Linux VM or WSL with Python >3.3
- ZTE Telnet enabler
- ZTE Firmware Mod Script
- TFTP server
Download the script ZTE_Firmware_Mod.py and place in the same folder where you have the kernel0 or kernel1 mtd dump taken from step **Backing up ONT partitions for HW/SW version mod**.
Run the script with the following parameters, use -h for help. In this example we are just replacing the firmware version with V6.0.10N40. Put your own version here, it has to be a maximum of 15 characters long. This parameter is mandatory:
If you need to create a partition dump with a different name, please put the correct name instead of kernel0
python3 ZTE_Firmware_Mod.py kernel0 V6.0.10N40 fw_mod.binThe script will output the following messages, ending with instruction on how to install the patched firmware that has been created:
---------------------------------------
This script is currently working only for ZTE F601v6 shipped with TIM (V6.0.10N40) or OpenFiber (V6.0.10P6N7) firmware
All other versions were not tested, USE IT AT YOUR OWN RISK!
Before proceed make sure to have a GOOD BACKUP of all your ONT partitions.
Please refer to Hack-GPON Wiki for how-to: https://hack-gpon.org/ont-zte-f601/
---------------------------------------
To proceed please enter 'y', otherwise 'n' to exit: y

---------------------------------------
Step 1: Patching zImage and fix uImage Header..
------: Done in 4.846 secs
Step 2: Add back ZTE Header and Firmware Version..
------: Old FW version V6.0.10N39
------: New FW version V6.0.10N40
------: Done in 0.008 secs
Step 3: Write firmware file..
------: Done in 0.003 secs

---------------------------------------
How to flash:

Copy firmware file fw_mod.bin into your TFTP server and flash is using this procedure on the ONT over telnet:

cd /var/tmp
tftp -l fw.bin -r fw_mod.bin 192.168.1.100 -g
fw_flashing -d 0 -r 0 -c 1 -f fw.bin

After you get prompt back, erase old configurations:

rm /userconfig/cfg/*.xml

Create dummy files for HW\SWVer spoofing:
!!! CHANGE IT BASED ON YOUR ORIGINAL ONT !!!
echo V6.0 > /userconfig/cfg/hwver
echo V6.0.10N40 > /userconfig/cfg/swver

Then run these commands to switch software bank and reboot the ONT:

upgradetest switchver
reboot
---------------------------------------
Good luck!
Two last steps!
If you are swapping from TIM to OpenFiber firmware, or viceversa, run these two command before rebooting the ONT based on the firmware version:
From OpenFiber V6.0.10P6N7 to TIM V6.0.10N40: upgradetest sfactoryconf 97
From TIM V6.0.10N40 to OpenFiber V6.0.10P6N7: upgradetest sfactoryconf 116
After the ONT has rebooted and you can access again, telnet can be enabled on each reboot. To do this, run again zte_factroymode.py to open new session to it. When you are in, execute these commands:
sendcmd 1 DB set TelnetCfg 0 TS_Enable 1
sendcmd 1 DB set TelnetCfg 0 Lan_Enable 1
sendcmd 1 DB set TelnetCfg 0 TS_UName root
sendcmd 1 DB set TelnetCfg 0 TS_UPwd root
sendcmd 1 DB addr FWSC 0
sendcmd 1 DB set FWSC 0 ViewName IGD.FWSc.FWSC1
sendcmd 1 DB set FWSC 0 Enable 1
sendcmd 1 DB set FWSC 0 INCName LAN
sendcmd 1 DB set FWSC 0 INCViewName IGD.LD1
sendcmd 1 DB set FWSC 0 Servise 8
sendcmd 1 DB set FWSC 0 FilterTarget 1
sendcmd 1 DB saveasy
Reboot the ONT and a telnet interface will be available. You can login using root\root as credentials.
Just for OpenFiber firmware
In case you want add new a admin user instead of using the embedded credentials, run these commands before rebooting the ONT:
sendcmd 1 DB set DevAuthInfo 5 Enable 1
sendcmd 1 DB set DevAuthInfo 5 User superadmin
sendcmd 1 DB set DevAuthInfo 5 Pass superadmin
sendcmd 1 DB set DevAuthInfo 5 Level 0
sendcmd 1 DB set DevAuthInfo 5 AppID 1
sendcmd 1 DB saveasy
Reboot the ONT and you can login to the WebUI using superadmin\superadmin as credentials with full unlocked menus.
Advanced settings
Backing up ONT partitions for HW/SW version mod
This step is suggested if you want to replace firmware on the ONT to spoof HW and SW versions:
Needed tools:
- Linux VM or WSL with Python >3.3
- ZTE Telnet enabler
- ZTE_Firmware_Mod
- TFTP server
First step is to login over telnet with zte_factroymode.py, then execute ALL these commands for a full backup:
Go to /tmp folder to create tmp files
cd /tmpDump mtd1 (uboot+config)
cat /dev/mtd1 > uboot_configCopy the dumped firmware via TFTP to you VM or Windows machine with this command:
tftp -l uboot_config -r uboot_config -p 192.168.1.X (where X is the IP of your PC)Delete dump:
rm uboot_configDump mtd2 (kernel0)
cat /dev/mtd2 > kernel0Copy the dumped firmware via TFTP to you VM or Windows machine with this command:
tftp -l kernel0 -r kernel0 -p 192.168.1.X (where X is the IP of your PC)Delete dump:
rm kernel0Dump mtd3 (kernel1)
cat /dev/mtd3 > kernel1Copy the dumped firmware via TFTP to you VM or Windows machine with this command:
tftp -l kernel1 -r kernel1 -p 192.168.1.X (where X is the IP of your PC)Delete dump:
rm kernel1Dump mtd4 (others)
cat /dev/mtd4 > othersCopy the dumped firmware via TFTP to you VM or Windows machine with this command:
tftp -l others -r others -p 192.168.1.X (where X is the IP of your PC)Delete dump:
rm othersDump mtd5 (param_tags)
cat /dev/mtd5 > param_tagsCopy the dumped firmware via TFTP to you VM or Windows machine with this command:
tftp -l param_tags -r param_tags -p 192.168.1.X (where X is the IP of your PC)Delete dump:
rm param_tagsDump mtd6 (usercfg)
cat /dev/mtd6 > usercfgCopy the dumped firmware via TFTP to you VM or Windows machine with this command:
tftp -l usercfg -r usercfg -p 192.168.1.X (where X is the IP of your PC)Delete dump:
rm usercfgChanging region code
Note
Be aware that changing the region code may break features such as PPPoE depending on your ISP
ZTE has created various region codes that load default values based on the local ISP. This configuration can be changed using this command:
upgradetest sfactoryconf XWhere X is the number of supported regioncode into file /etc/init.d/regioncode, here is an example from TIM V6.0.10N40 firmware:
# cat /etc/init.d/regioncode
2:Lithuania
15:Portugal
17:TelMex
19:Turkey
32:JazzTel
38:Czechia
54:Viettel
59:SeteTec
63:Ais
88:GerNetCologne
97:ItalyTI
104:IndiaRJIO
110:IndiaGTPL
112:BrazilTIM
115:ItalyOpenFiber
116:ItalyTescali
118:PolandINEA
139:MultiLaser
198:Manufacture
Random notes
- Both F601v6 and F601v7 read the software version exposed through the gpon_omci deamon from each kernel partition header, so the only way to spoof this parameter is to change the version in the header and recalculate CRC, otherwise the bootloader will refuse to load the image.
- TIM's F601v6s use HWVer
VDF, this can be changed back toV6.0issuing this command via telnet:setmac 1 32770 3 - The F601v7 is mounted 'upside down' to save on waveguides, the LEDs would be on the bottom of the PCB, so it would have to be turned upside down to make it cooler...
- The F601v6 turns on and runs even with 9V input.
- The F601v7 turns on and runs even with 5V input.
Miscellaneous Links
- ZTE config.bin decoder
- Usource GPON ONU STICK
- GPON module Dfp-34g-2c2 sfp
- ZTE Telnet enabled
- ZTE Firmware Mod Script
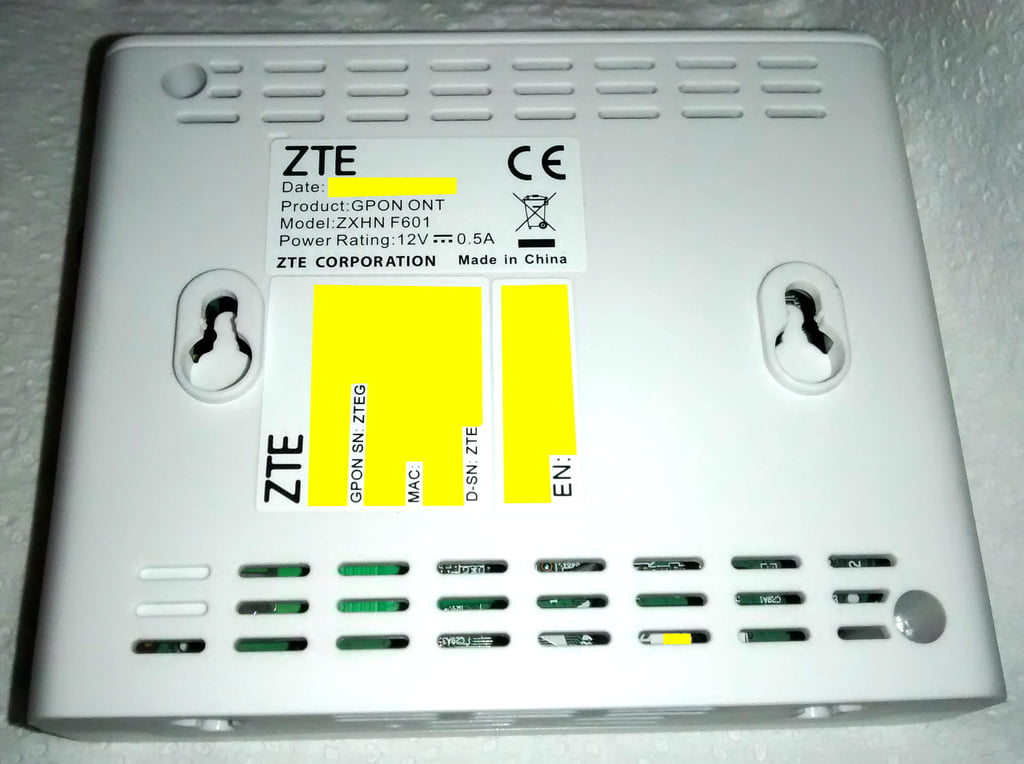
Teardown and other photos
HW V6.0
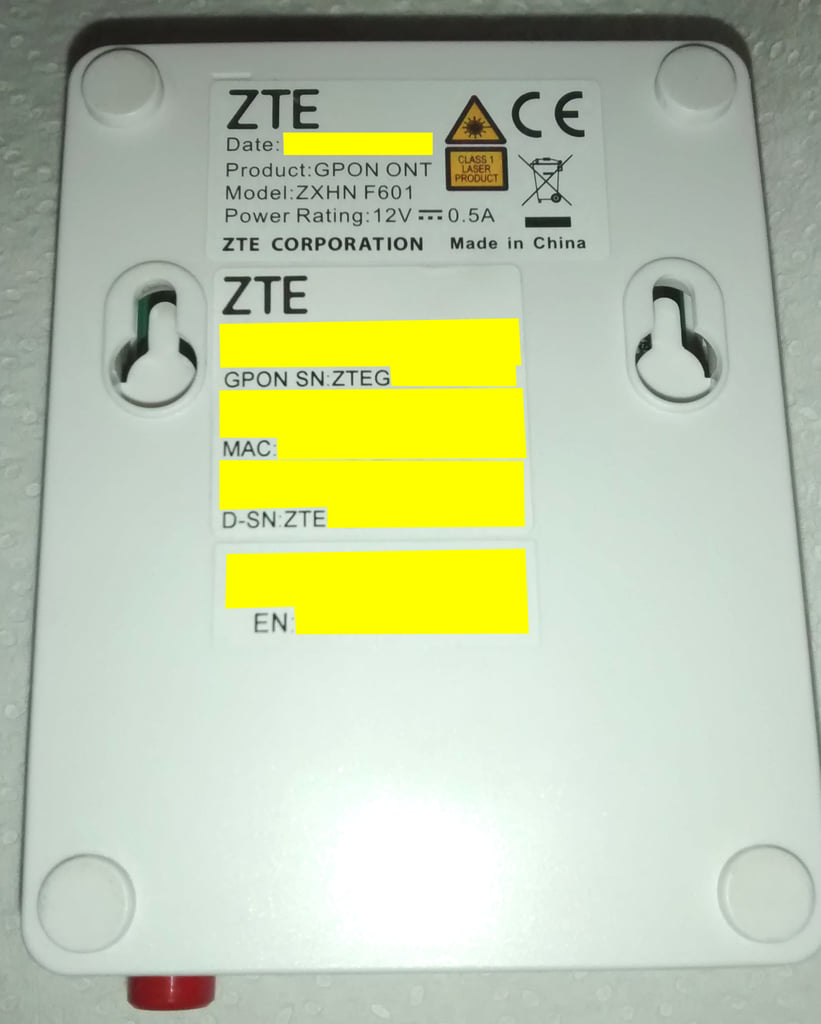
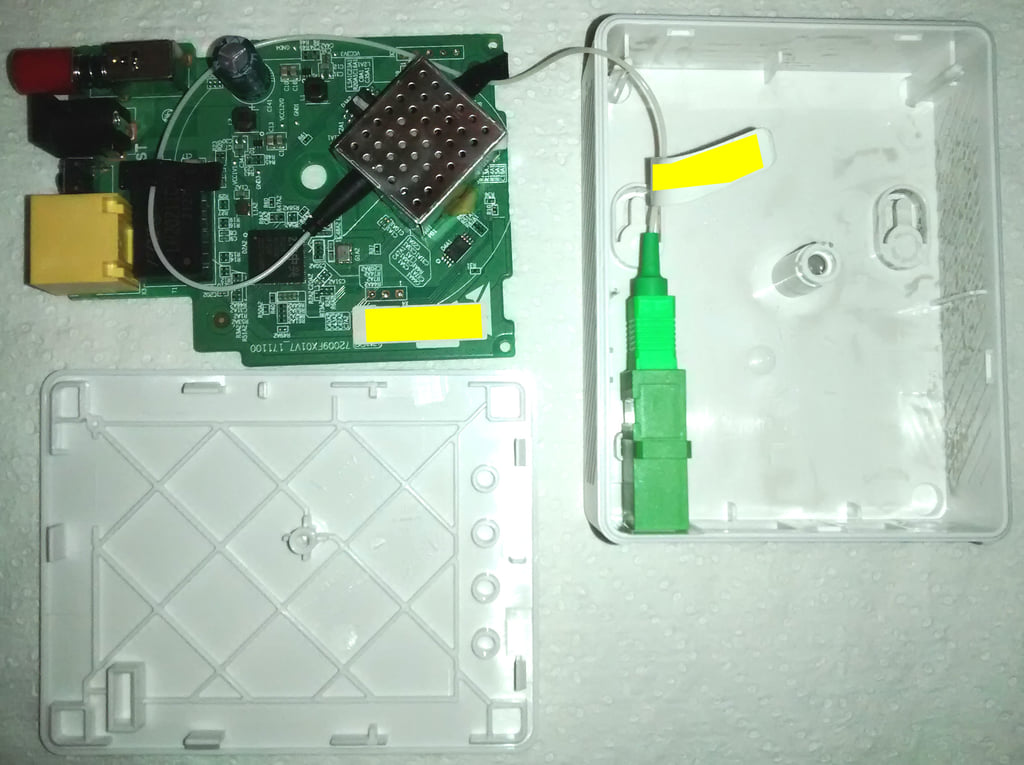
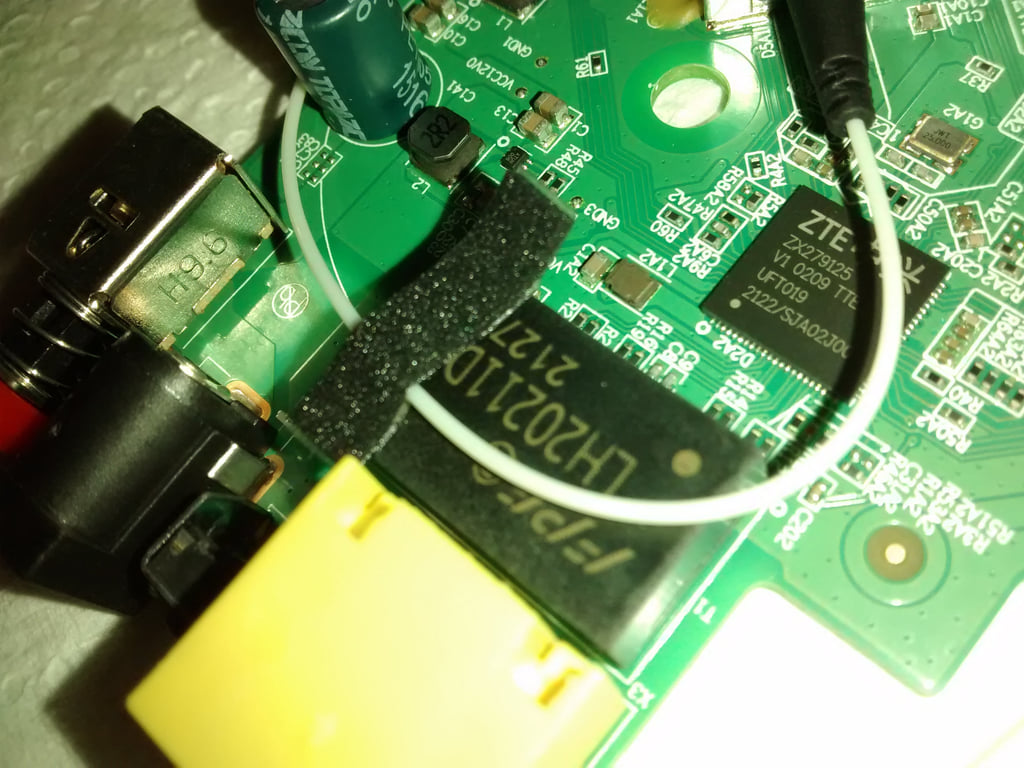
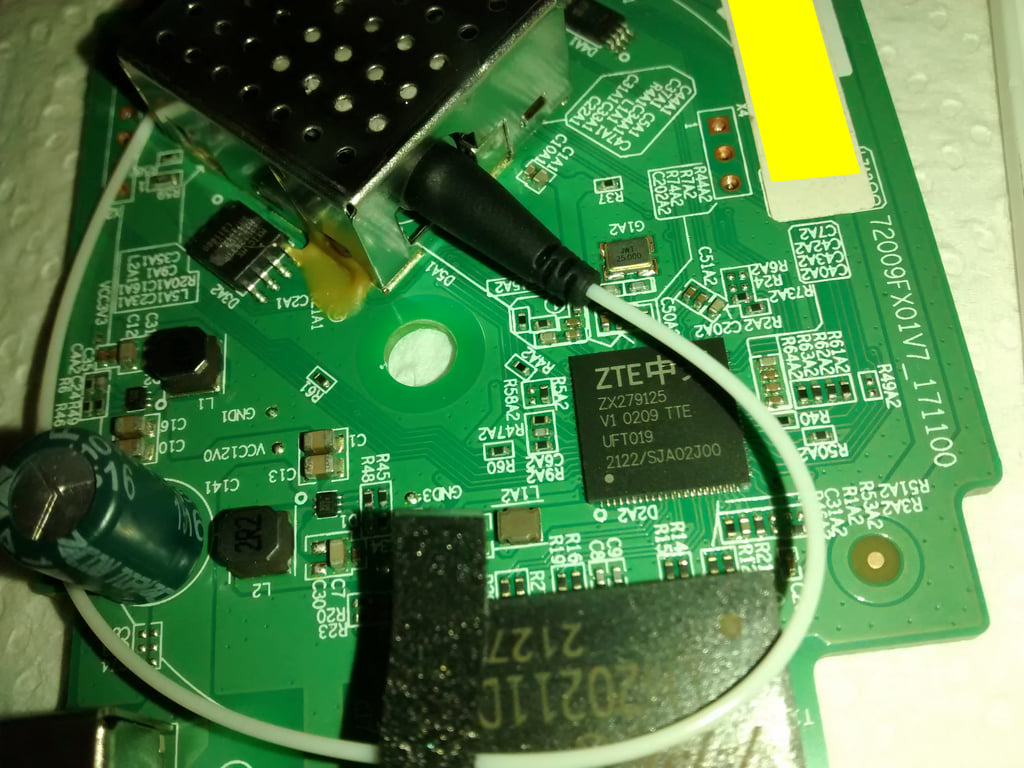
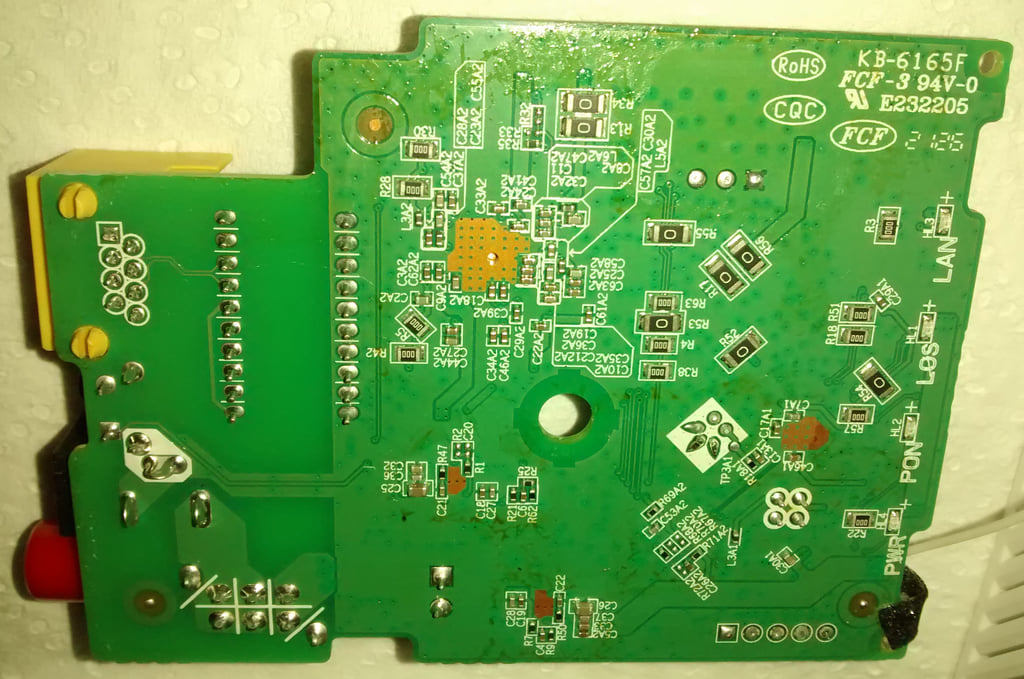
HW V7.0
HW V9.0